
Lewmar Shallow Water Anchors
Person holding a white Lewmar shallow water anchor beside an outboard on a skiff

DIY Shallow Water Anchor Installation

The general process for a typical Lewmar shallow water anchor install.

Installing a shallow water anchor

Installing a Lewmar shallow water anchor is primarily a drill-and-bolt project. Unlike a hydraulic anchor, our anchors don't require a pump, hoses, or a reservoir. The process involves selecting a clear location above the waterline on your boat's transom, drilling and sealing the mounting holes for the bolts, and securing the anchor to the transom. Most standard installations can be completed in less than two hours. The electric Axis model also requires a 12V connection and remote programming, while the manual Vector installation is complete once the mounting hardware is tightened.

This guide outlines the typical installation sequence for both Axis and Vector models, providing an overview of the work involved. It should be used as a general reference. It's not a replacement for your owner's manual. Model-specific measurements, procedures, and safety requirements are provided in the manual included with the anchor.

Follow the instructions that came with your anchor

Use the manufacturer's instructions for the anchor you are actually installing. Whether you are installing a Lewmar anchor, a Power-Pole®, a Minn Kota®, or any other shallow water anchor, follow that product's manual. Hole size, torque, sealant, and wiring are specific to each unit, and this guide does not replace those documents.

Download Lewmar shallow water anchor manuals

  • CCD-0006345

    Axis Anchor — Manual

    Installation, 12V wiring, remote programming, and the Axis troubleshooting table.

  • CCD-0008986

    Vector Anchor — Manual

    Installation for the manual anchor. No electrical connection.

Access bracket sheets and the rest of the document list on Support.

Before you drill

Tools and supplies

All Lewmar shallow water anchors pretty much use the same basic hand tools for the installation. You don't need fancy equipment. The Axis adds a short electrical kit because it does require wiring up to the boat battery.

Black Lewmar shallow water anchor mounted beside an outboard at the transom
  • Axis and Vector

    • 9/16 in wrench and socket
    • Drill
    • 1/8 in, 3/8 in, and 1/2 in bits
    • Tape
    • 4 ft straightedge
    • Non-permanent marker
    • Marine-grade sealant
  • Axis only (for electrical install)

    • Phillips and flat screwdrivers
    • Wire stripper
    • Crimper
    • Heat-shrink connectors
    • Utility knife
    • Heat gun

    Vector does not use these.

  • The person doing the work

    • Intermediate mechanical skill
    • Electrical skill (on Axis only)
    • Ability to lift 35–50 lbs

What's in the box with a Lewmar shallow anchor

Your Lewmar shallow water anchor ships with the anchor assembly and the standard transom mounting plate, plus hardware for a direct mount.

Axis also includes the electrical parts: a 12-gauge harness for the cockpit switch, the RF module, and a keychain remote. No dedicated circuit or relay is required for a standard installation.

For specialty mounting options

Boats with curved or stepped transoms or an existing jack plate will require a specialized bracket to complement the standard transom bracket. The same is true if you're intending to mount to a pontoon deck. You also may wish to add a quick-release option to your shallow water anchor for trailering or other situations. This also requires a specialty bracket add-on.

These specialized bracket kits are sold separately, but they use the same four-hole pattern as the standard plate included with your anchor. The difference is where and how that pattern connects to the boat. Take note that some bracket installations may require a professional touch, so be sure to contact an installer if you don't feel qualified for your install.

Example install video

Lewmar Axis shallow water anchor install

Watch this video for a step-by-step look at installing a Lewmar Axis shallow water anchor.

Shop Axis

Step-by-step installation of a shallow water anchor

These are the general steps for a DIY shallow water anchor. We'll follow the process for Axis and Vector as our examples, but these steps are meant to provide a general overview and are not specific to any particular anchor. Always follow the instructions that come with your specific model.

1. Pick the spot

Find a clear area on the transom of your boat, above the waterline. The deployed spike and the retracted anchor both have to miss the outboard through its full turning swing and miss the trim tabs. If you cannot find that patch of flat transom, you may need to choose a specialized mounting bracket instead of the included plate.
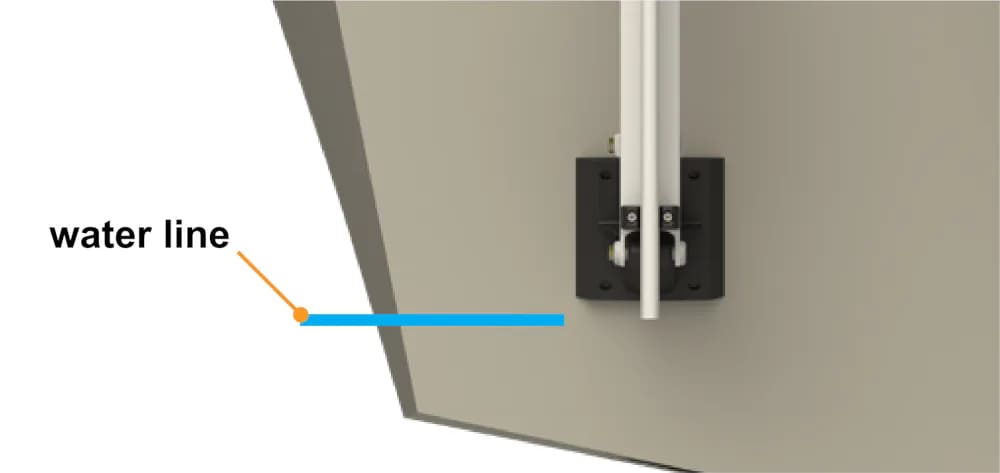
Diagram showing the bottom of a Lewmar transom mounting bracket above the water line
Keep the lowest point of the bracket above the water line.

2. Mark four holes

Lewmar anchors use a four-hole pattern for the bolts. Hold the anchor / bracket in place (have a friend help lift the anchor, if needed), and mark the holes for drilling. Start by drilling pilot holes, then confirm the final bit size and widen the holes to their full diameter.

3. Seal, then bolt

Coat the bracket and the holes with marine-grade sealant so water does not get into the transom core. Align the mounting plate (again, have a friend help you lift, if needed), insert the bolts with washers, and secure with lock nuts from inside the transom. Tighten the hardware with a wrench and socket until the plate is seated.

4. Mounting the RF module (for electric anchors)

Mount the RF (radio frequency) module near your 12V battery source, using the bracket holes to mark the drill locations, if needed. Then, use the provided hardware to attach the box. Connect to power and ground with the included wire leads. On the Lewmar Axis, plug in the Deutsch plug from the module into the anchor.

5. Program the key fob

On the Lewmar Axis, you'll need to determine if you want "momentary" or "latching" functionality. Momentary runs the anchor pole only while you hold the button. Latching runs it on one press until the spike hits the bottom, and a later press retrieves it.

Turn on power on the RF module. Then, open the program lid and press the switch until the LED light turns on. Now you're ready to pair the fob. Depending on the functionality you want (see above), you'll need to press the switch on the fob once or twice.

6. Cycle the anchor to test it

Before you put your newly equipped boat in the water, deploy and retract your anchor. Swing the outboard through its turning travel radius. Check again to make sure there's clearance.
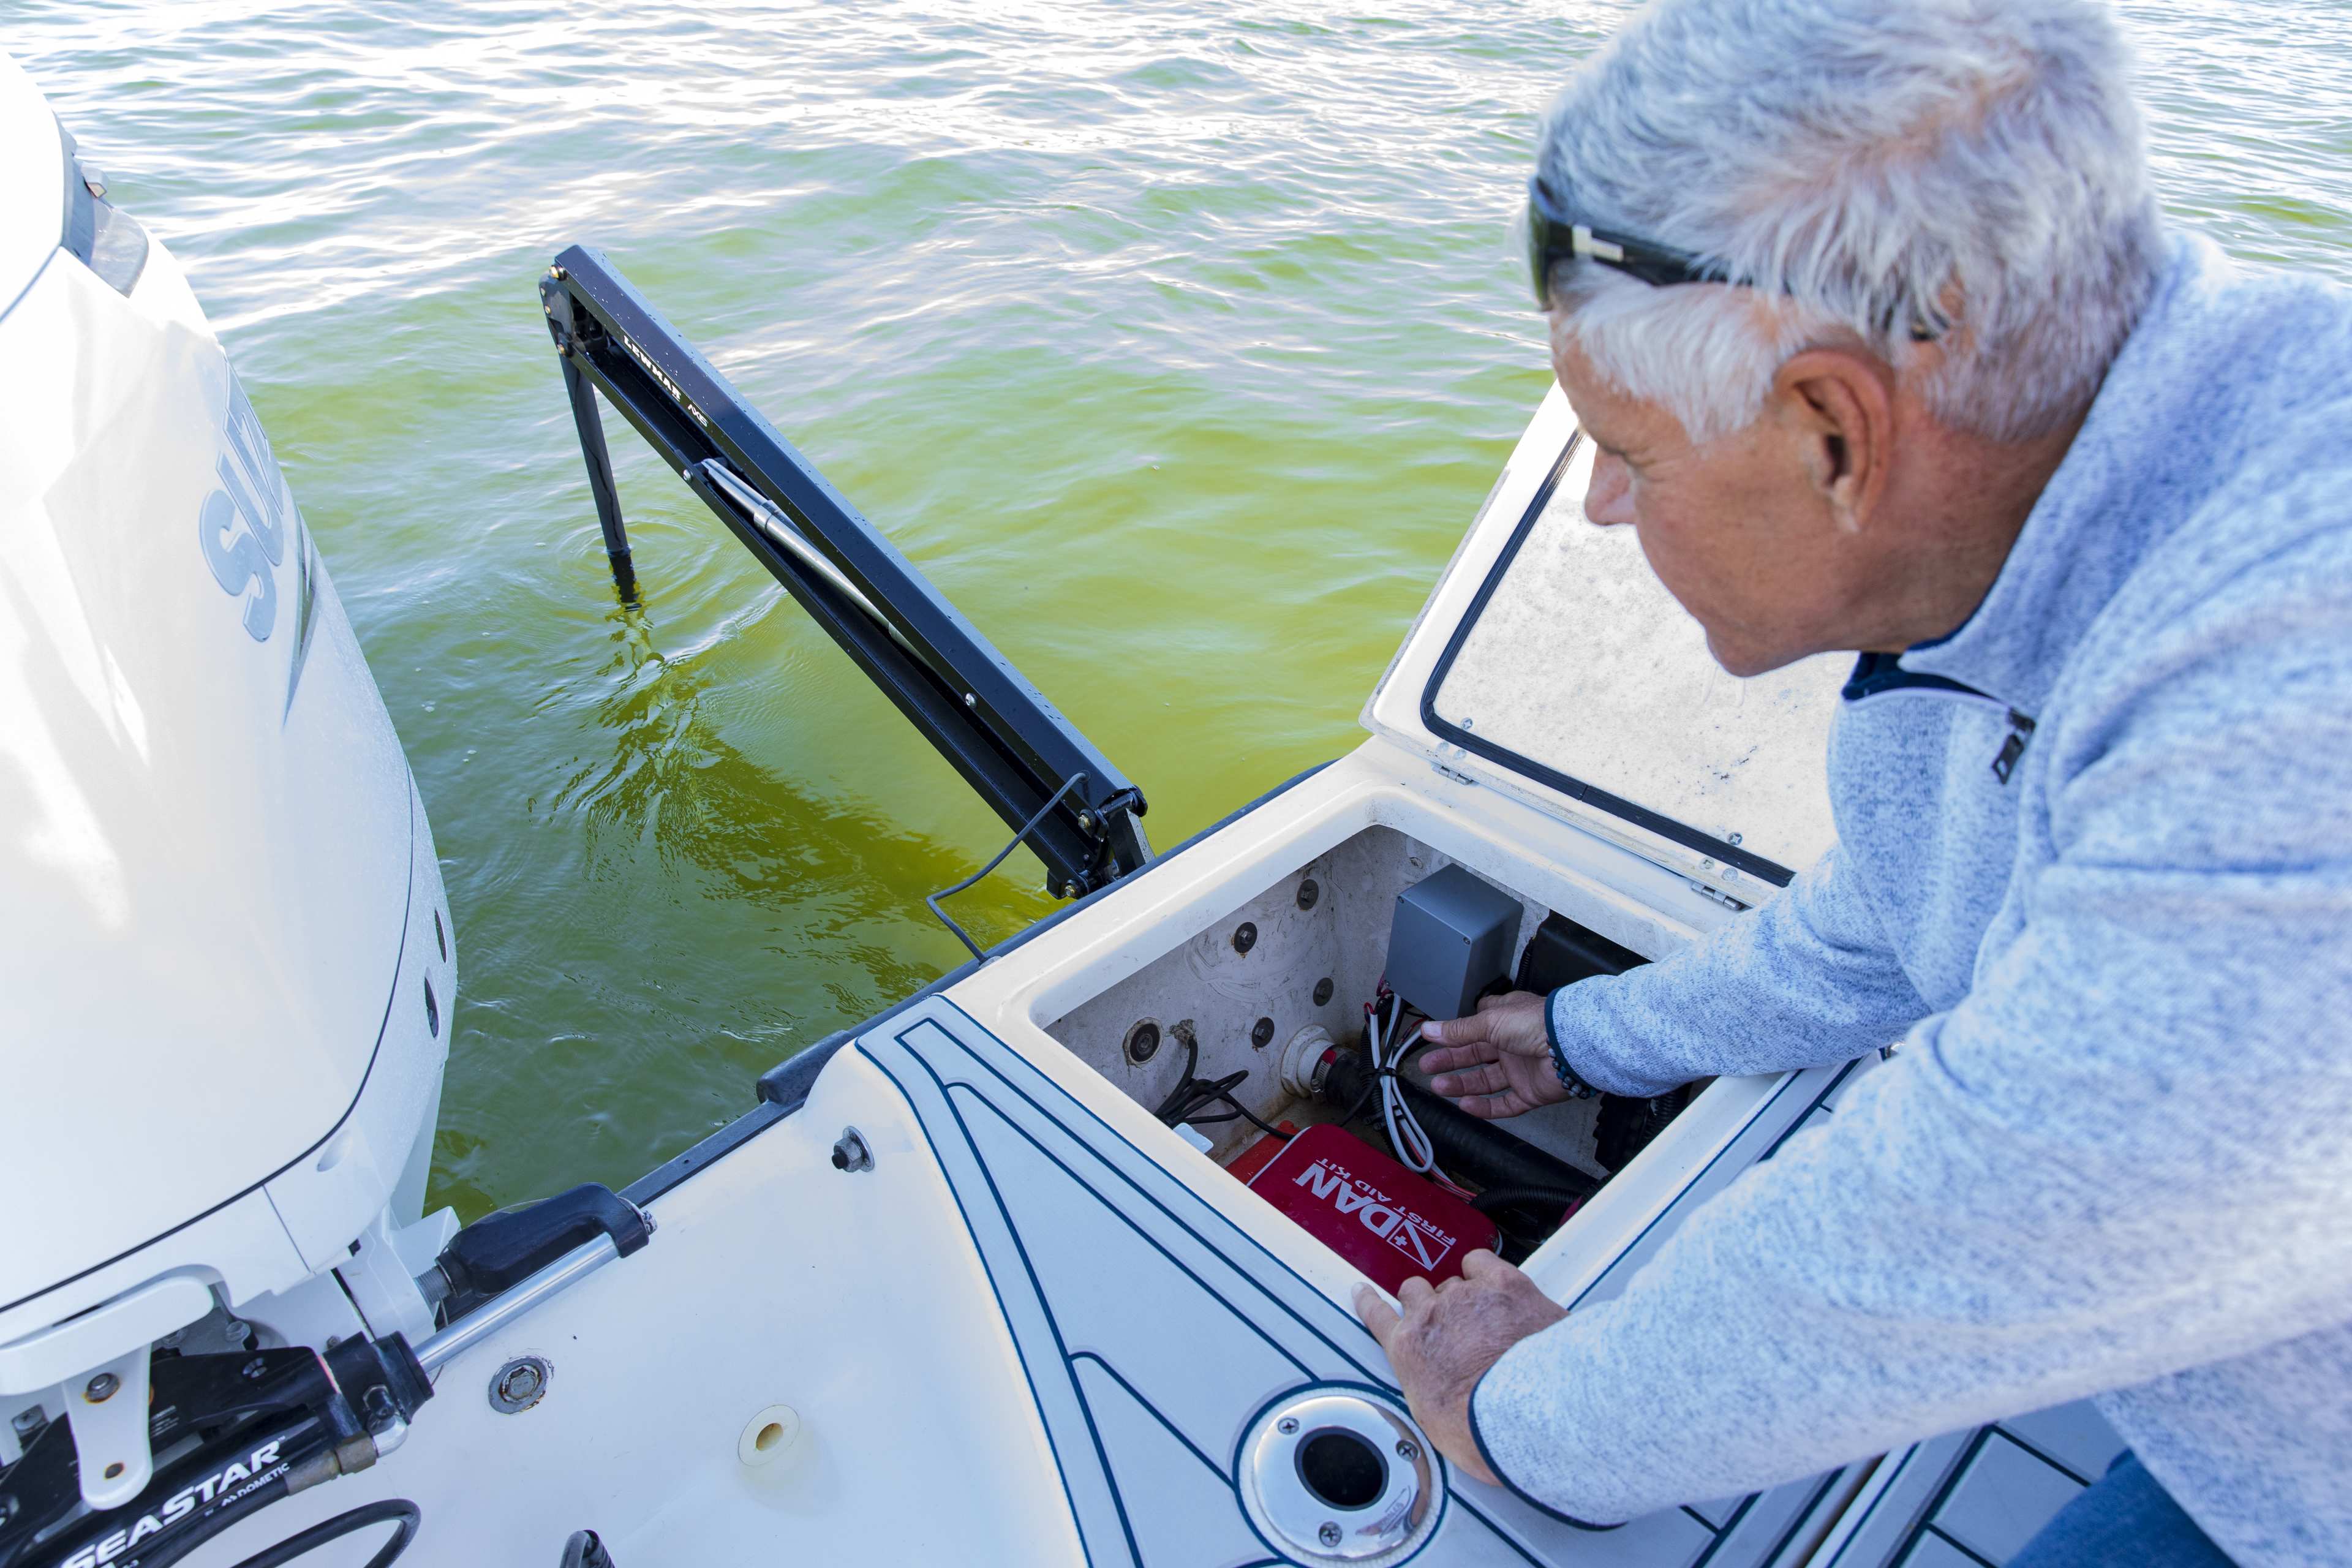
Lewmar shallow water anchor deployed beside a white outboard while a person works in the open battery compartment
Lewmar Axis shallow water anchor installed with standard transom bracket and RF module wired up in the battery compartment.
Person lifting a black Lewmar Vector off a quick release bracket on a skiff transom
Close view of the Vector mounting plate sliding out of the quick release bracket, which stays bolted to the transom
Person turning the top cap screw on a Lewmar quick release bracket with a screwdriver
Quick release install: the anchor lifts off, the dovetail plate stays on the transom, and the top cap screws come out when you remove it.
Non-standard installations

Other shallow water anchor mounts

If you need a more specialized solution for installing a shallow water anchor on your boat, Lewmar offers several options.

  • Black Lewmar shallow water anchor mounted with a quick release bracket

    Quick Release

    Bolt the plate to a Lewmar bracket already on the boat, or drill new holes in the transom. Then slide the anchor plate in and cap both ends.
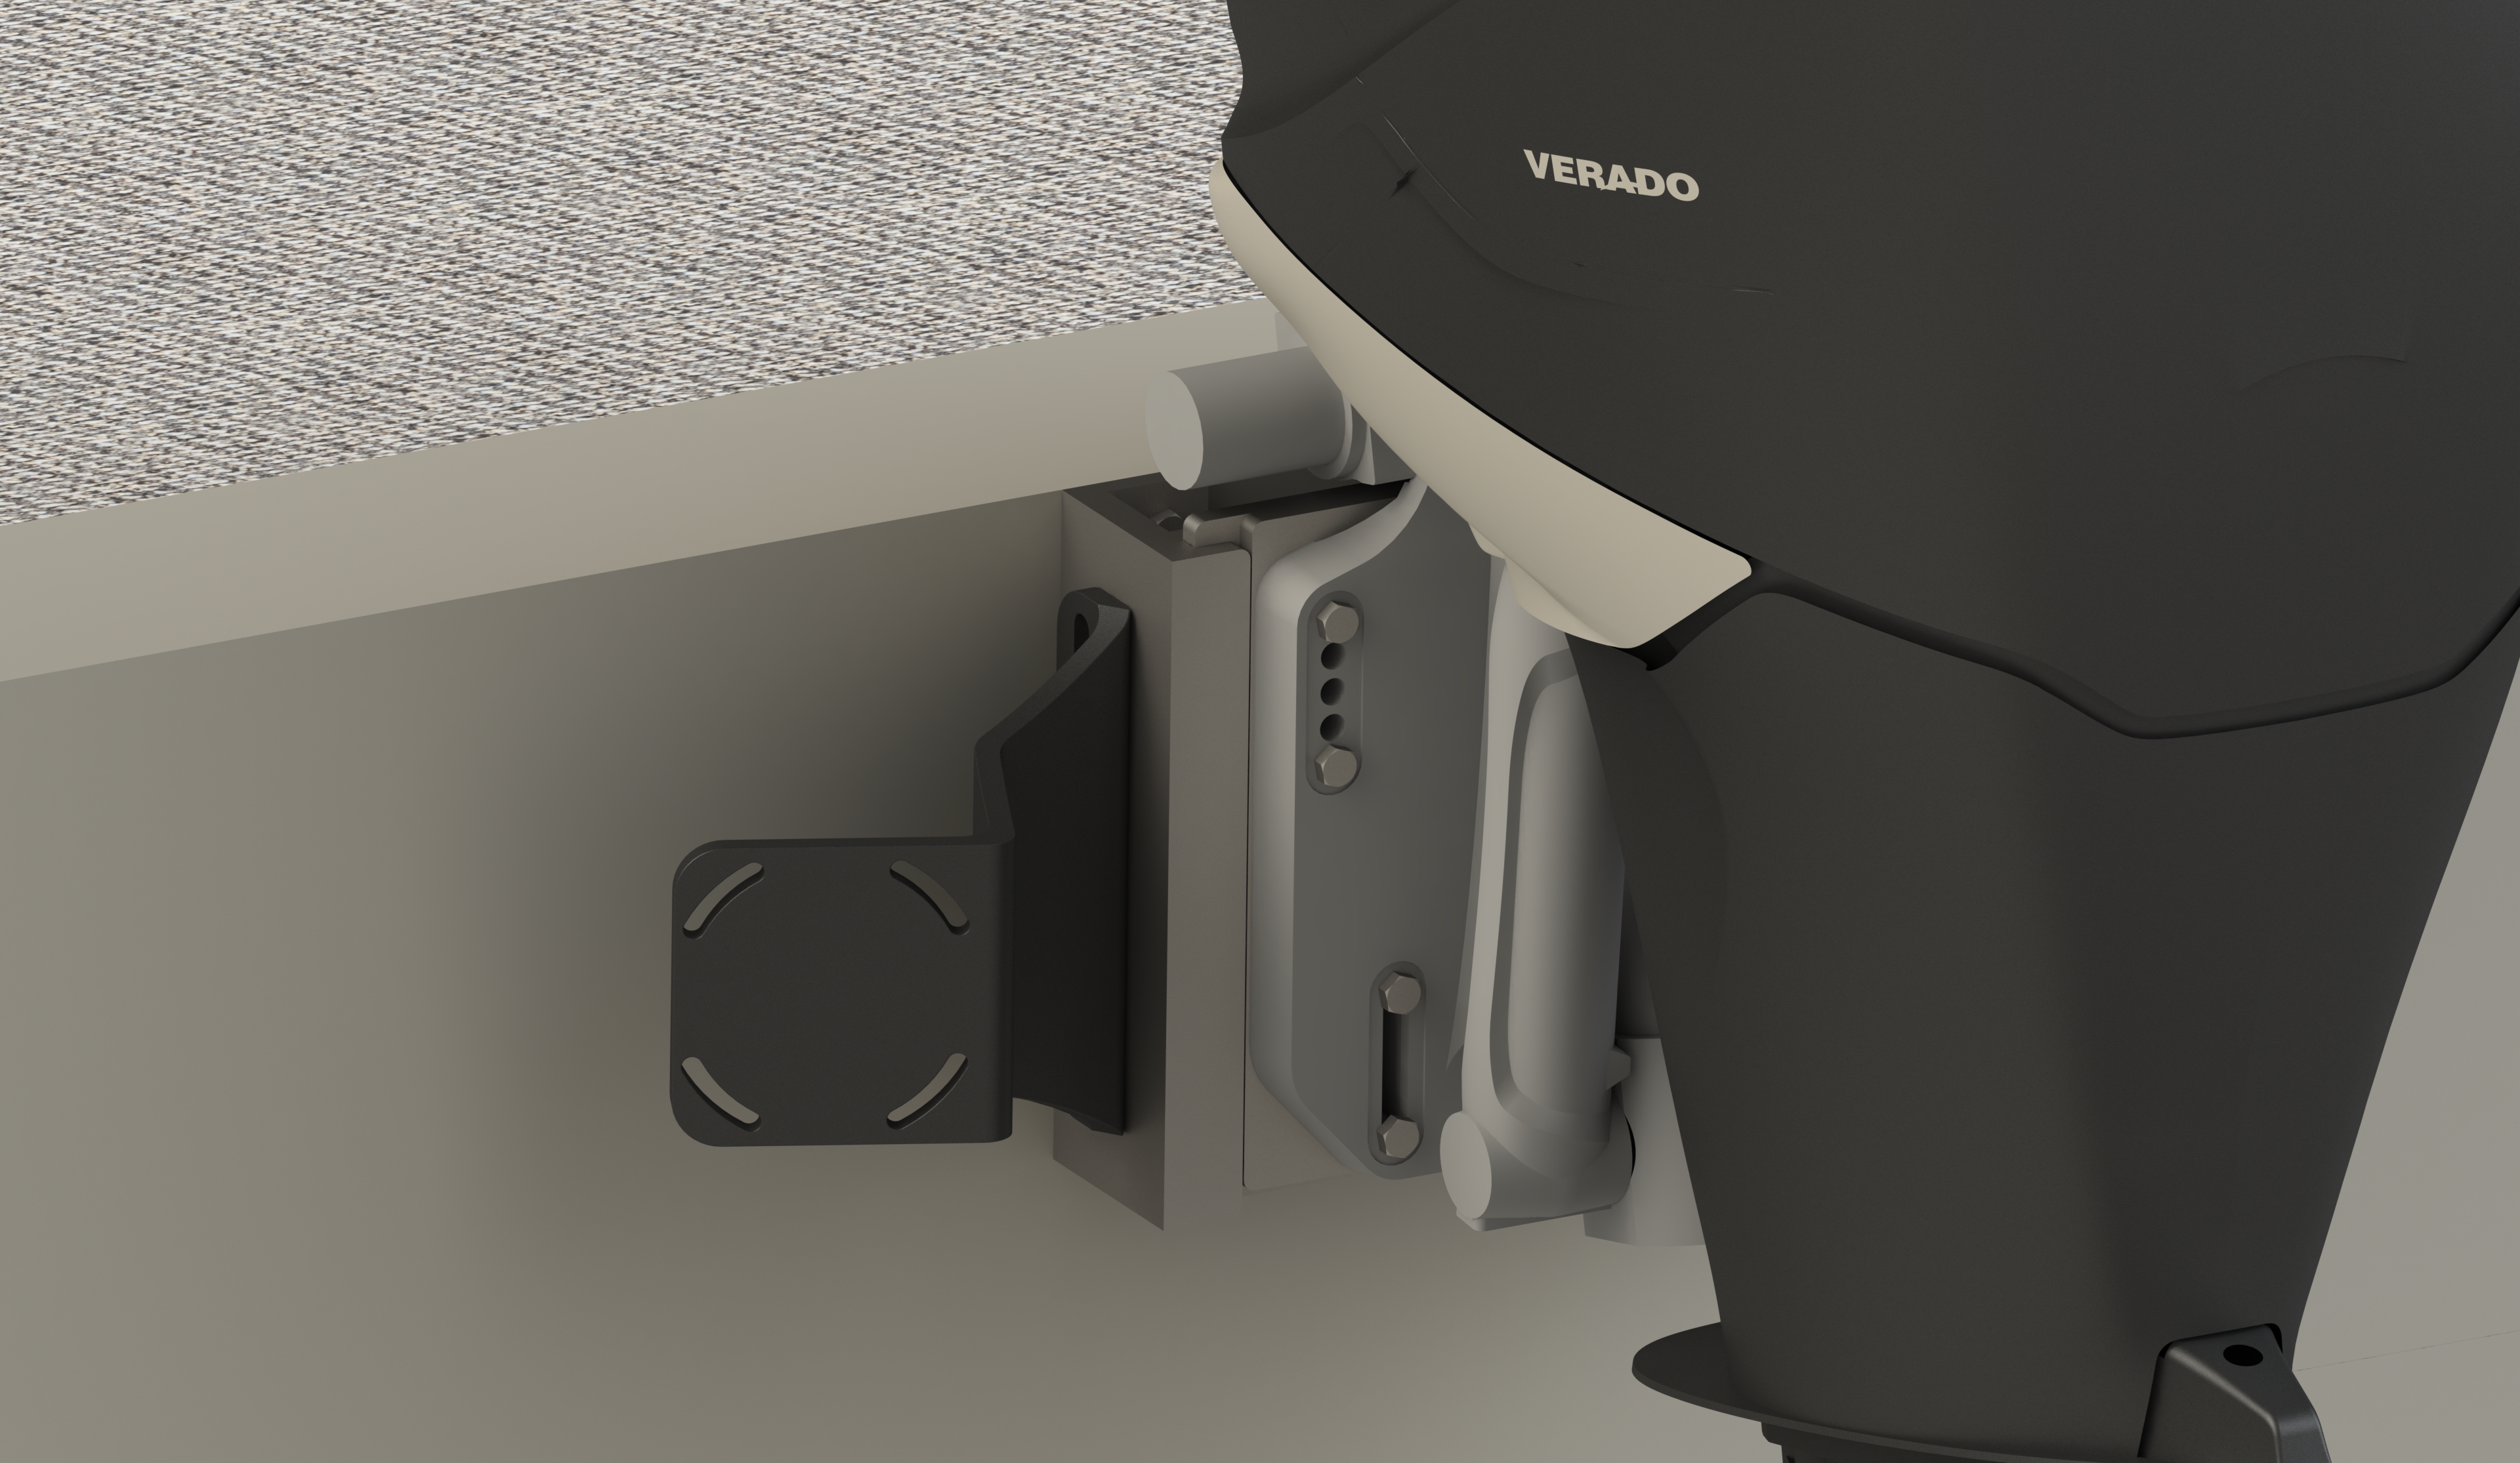
    1. On an existing jack plate, motor, or pontoon bracket, align the quick release over that hole pattern. Run four bolts through both plates, add the washers, and torque the lock nuts as specified.
    2. On a bare transom, tape the area first. Keep the lowest point of the plate above the water line, and swing the motor through its full turn and trim to make sure it misses the plate and the anchor.
    3. Confirm you can reach the nuts inside the transom. Mark four holes, drill them, and bolt the plate on with the screws. Torque to the proper specs.
    4. Fit the bottom end cap with blue Loctite on the screws. Slide the anchor's mounting plate in from the top.
    5. Fit the top cap with marine anti-seize. Note, these screws come out when you remove the anchor!
  • Lewmar jack plate bracket with a shallow water anchor, studio render

    Jack Plate

    Set the bracket on the port or starboard side of the engine mount, then bolt the anchor to it. The bracket is symmetrical from both sides.
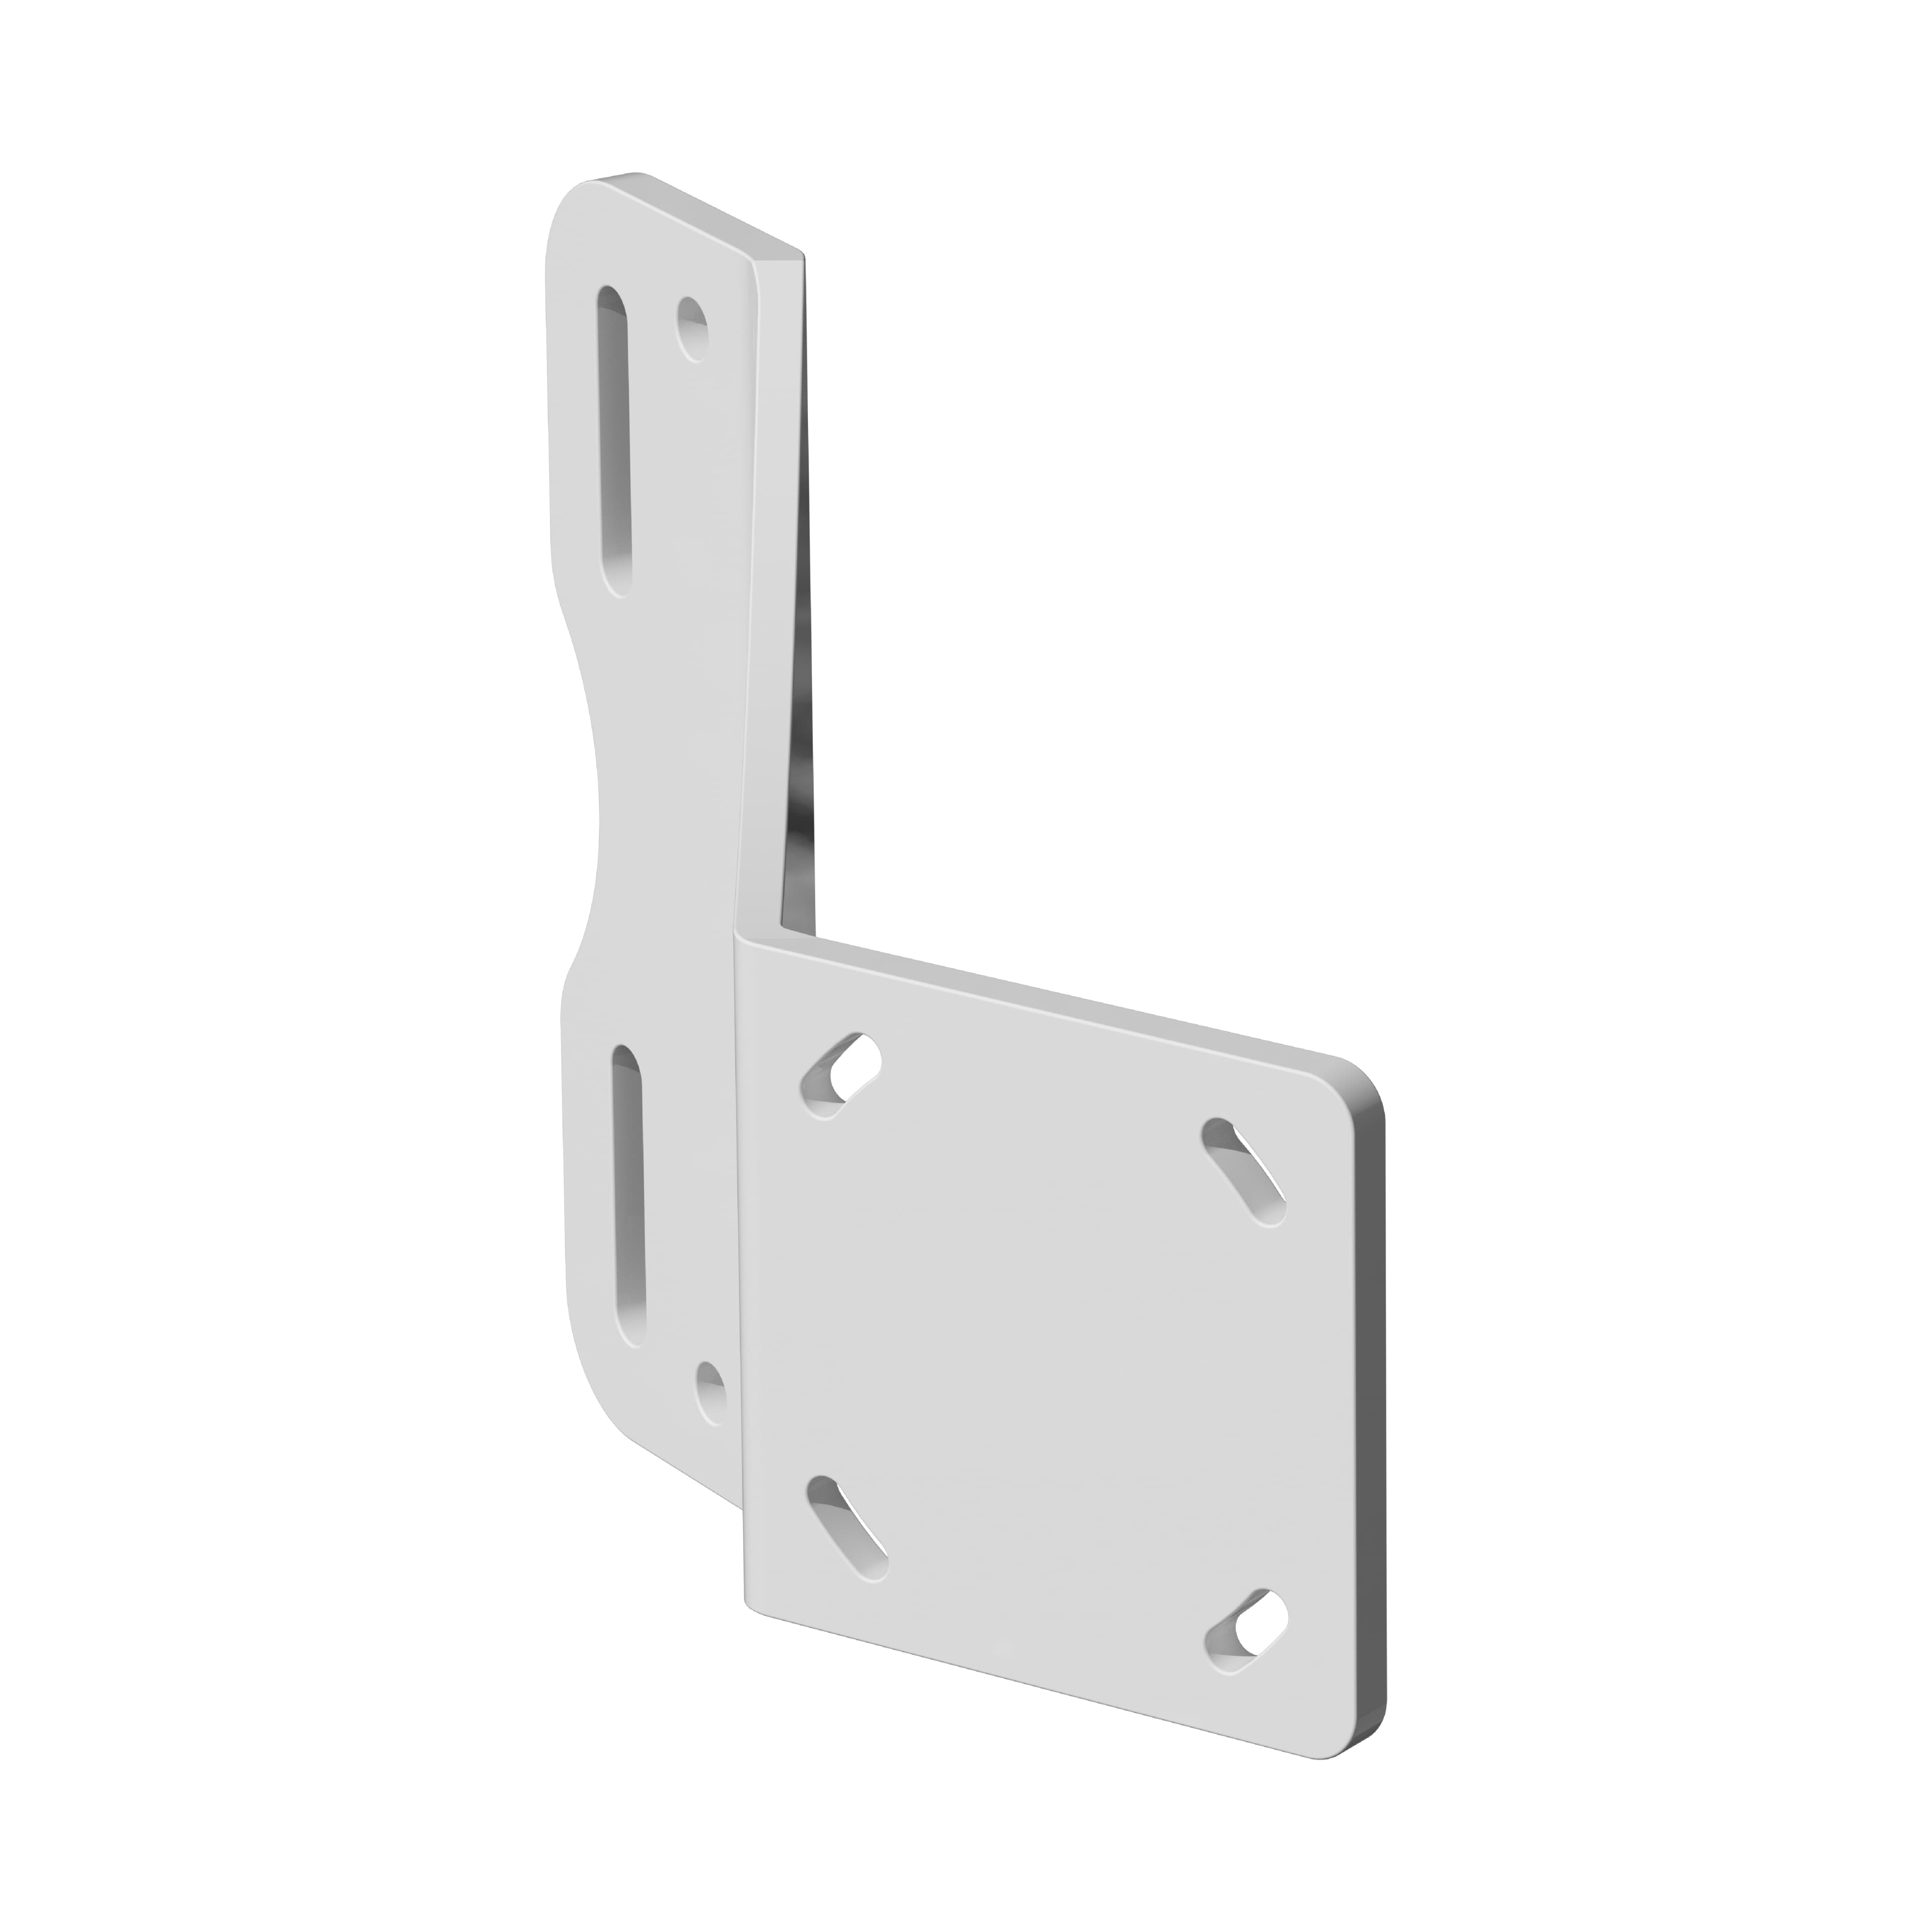
    1. Orient the bracket on the preferred side of the stern engine mount.
    2. Check clearance, and set the height with the slots on the jack plate.
    3. If the preferred side of the engine mount has no holes, drill two clearance holes for the bolts.
    4. Put a washer on each bolt, pass them through the top and bottom slots and the engine mount, then add a washer and a nylon lock nut. Snug them with a wrench and socket.
    5. Set the final height and torque the lock nuts to the required specs. Align the anchor's mounting plate with the bracket and bolt it on with the supplied mounting kit.
  • Lewmar motor mount bracket, white

    Motor Mount

    Support your outboard motor first! The adapter plate goes between the motor bracket and the transom. An engine hoist is recommended.

    1. Support the outboard, following the motor manufacturer's recommendation. Use a wrench and socket, a hoist, and marine-grade sealant.
    2. Remove the engine bolts on the side where the anchor will go. Loosen the opposite bolts about 1 inch, and seal the exposed holes.
    3. Slide the adapter plate between the motor bracket and the transom, line the slots up with the bolt holes, reinstall those bolts, set the height, and tighten.
    4. Remove the remaining engine bolts, seal those holes, and install the shim on the opposite side. For a second anchor, use another adapter plate instead of the shim.
    5. Set the final height and torque every engine bolt to the motor manufacturer's spec. Bolt the anchor to the adapter plate with the supplied mounting kit.
  • Lewmar pontoon deck mounting bracket, black, with hardware

    Pontoon Deck

    Set the bracket on the rear deck over a pontoon tube, then bolt through the deck into the stringers or the backing plates.

    1. Place the bracket directly above a pontoon tube on the port or starboard side. Confirm the bolts clear below the deck, and cycle the motor through its steering radius so it misses the bracket and the anchor.
    2. Mark the four slot locations for the bolts. It's best to drill through the port-to-starboard stringers. Use the included backing plate as a template. Drill four through-holes for the bolts, centered on the stringer and on the slots.
    3. Run a bolt with washer through the bracket, the deck, and the stringer. Sandwich a backing plate between the deck and the second washer, then thread the lock nuts.
    4. Torque the nuts to the required pound-feet. If desired, cut off any excess threads but beware of sharp edges. Bolt the anchor to the bracket with the supplied mounting kit.

Shallow water anchor installation FAQ

Yes, for a typical Lewmar Axis or Vector shallow water anchor, a DIY installation is completely doable, especially if you're installing directly on the transom, using the quick release bracket, jack plate, or pontoon deck mount. We recommend intermediate mechanical skill, some electrical skill if you're installing Axis, and the ability to lift 35–50 lbs. Most installs finish in under two hours. The motor mount, which sits between the outboard motor and the transom, is more difficult. We recommend taking the job to a professional shop for completion, particularly because the motor must be unbolted, supported, and retorqued. Always follow the manual included with your anchor.